
Although Windows 11 23H2 is not due (presumably) until sometime in October 2023, it’s possible to install the new version before it becomes available to everyone to get early hands on the new features and changes.
If you want to upgrade early to the Windows 11 2023 Update, you have to enroll the computer in the Beta Channel to download and install the feature update through Windows Update. It’s also possible to download the official ISO file (preview) to create a USB media to perform a clean installation.
This guide will teach you two ways to upgrade to Windows 11 23H2 before it becomes generally available.
Install Windows 11 23H2 from Insider Program
You can install Windows 11 23H2 before it’s officially available using the Beta Channel. The Beta testing channel was designed for anyone who wants to try out upcoming features while the company continues the development process. The previews in this channel are stable, but you may still run into problems.
To upgrade to Windows 11 23H2 early from version 22H2, use these steps:
-
Open Settings on Windows 11.
-
Click on Windows Update.
-
Click the Windows Insider Program tab.

-
Click the Get started button.

-
Click the Link an account button.

-
Sign in with your Microsoft account credentials.
-
Click the Continue button.
-
Under the “Pick your Insider settings” section, select the Beta Channel option.

-
Click the Continue button.
-
Click the Continue button to agree to the terms and conditions.
-
Click the Restart button.
-
Open Settings after the reboot.
-
Click on Windows Update.
-
Click the Check for updates button to install Windows 11 23H2.
-
Click the Restart button.
Once you complete the steps, Windows Update will download and begin updating the computer to the Windows 11 2023 Update.
After the upgrade, you can gracefully remove the computer from the program from the “Windows Insider Program” settings page to prevent upgrading to a follow-up version by turning on the “Stop getting preview builds” toggle switch.
Install Windows 11 23H2 from USB
You can also download the ISO file with the latest files for version 23H2 to create a USB media to perform a clean installation. You need to start your computer with the bootable media to launch the Windows 11 setup.
Also, you have to check whether the device can start from a USB flash drive, which means you may need to change the UEFI settings. Since the firmware settings are different on every computer, check your manufacturer support website for more specific details.
To perform a clean install of Windows 11 23H2 from USB, use these steps:
-
Press any key to continue.
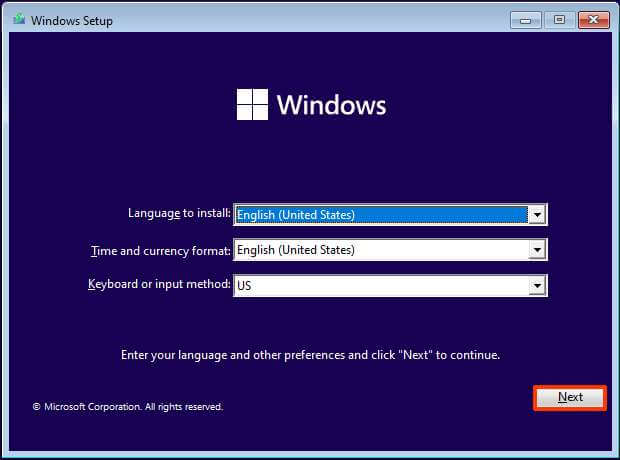
-
Click the Next button.
-
Click the Install now button.

-
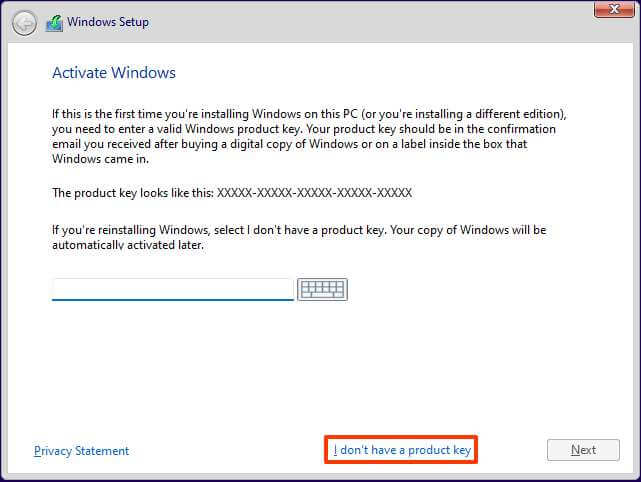
Click the “I don’t have a product key” option if you are doing a reinstallation. If Windows 11 was previously activated after the installation, reactivation would happen automatically.
-
Select the edition of “Windows 11” that your license key activates (if applicable).
-
Check the “I accept the license terms” option.
-
Click the Next button.
-
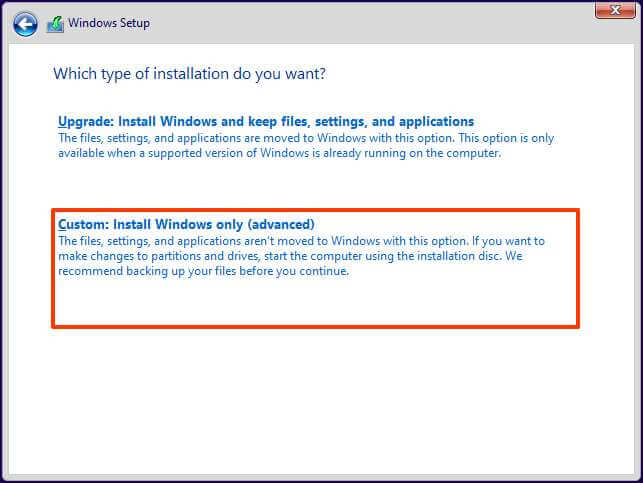
Select the “Custom: Install Windows only (advanced)” option.
-
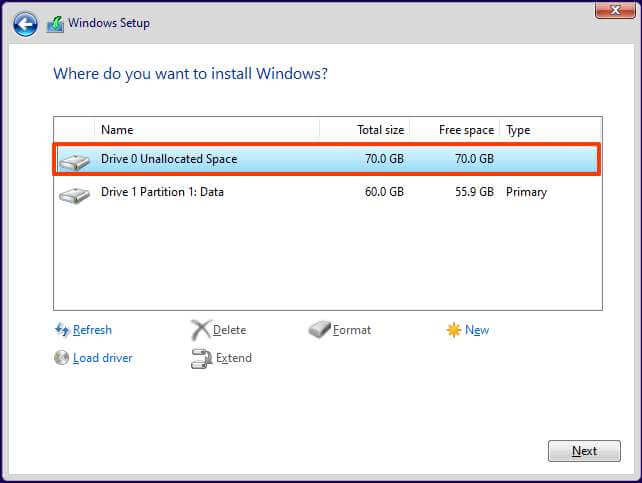
Select each partition in the hard drive you want to install Windows 11 23H2 and click the Delete button. (Typically, the “Drive 0” is the drive that contains all the installation files.)
 Warning: When you delete a partition, it also deletes all data on the drive. Also, it is not required to delete the partitions from a secondary hard drive.
 -
Select the hard drive (Drive 0 Unallocated Space) to install Windows 11.
-
Click the Next button.
-
Select the hard drive (“Drive 0 Unallocated Space”) to install Windows 11 on your computer.
-
Click the Next button.
-
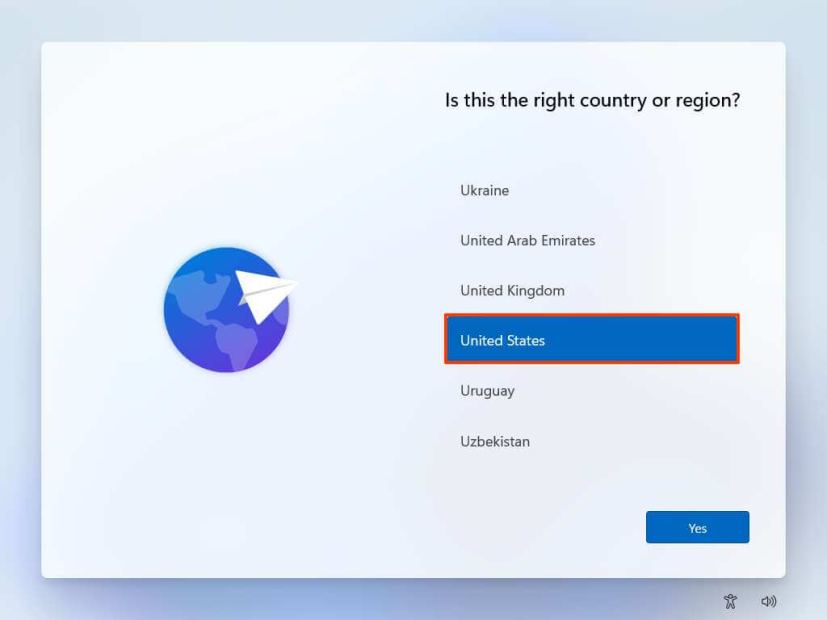
Select your region setting after the installation on the first page of the out-of-the-box experience (OOBE).
-
Click the Yes button.
-
Select your keyboard layout setting.

-
Click the Yes button.
-
Click the Skip button if you do not need to configure a second layout.
-
The computer will automatically connect to the network if it uses an Ethernet connection. If you have a wireless connection, you must set up the connection manually (a security key may be required).
-
(Optional) Confirm a name for the computer.

-
Click the Next button. (The device will restart automatically.)
-
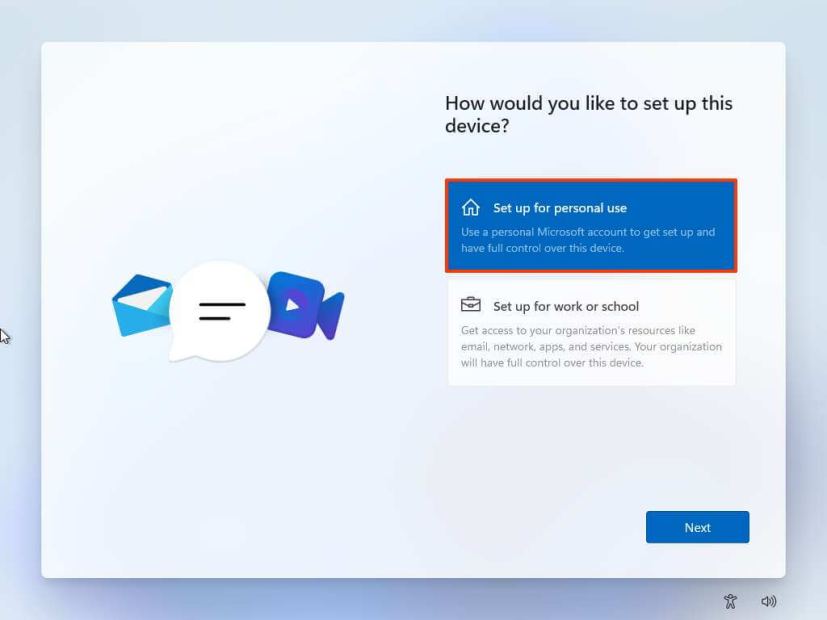
Select the “Set up for personal use” option if you are configuring Windows 11 Pro. The “Home” edition does not have this option.
-
Click the Next button.
-
Click the Sign in button.

-
Confirm your Microsoft account email, phone number, or Skype identification to create an account.

-
Click the Next button.
-
Confirm your Microsoft account password.
-
Click the Next button.
-
Click on “View more options.”
 Quick note: Microsoft is updating the out-of-the-box experience, and the process may be slightly different in the final release.
 -
Choose the “Set up a new device” option.

-
Click the Next button.
-
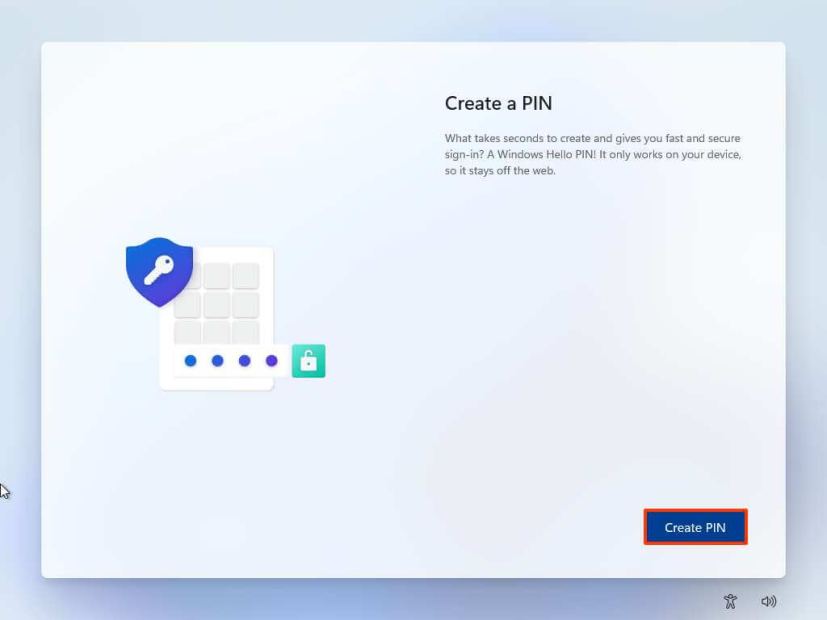
Click the Create PIN button.
-
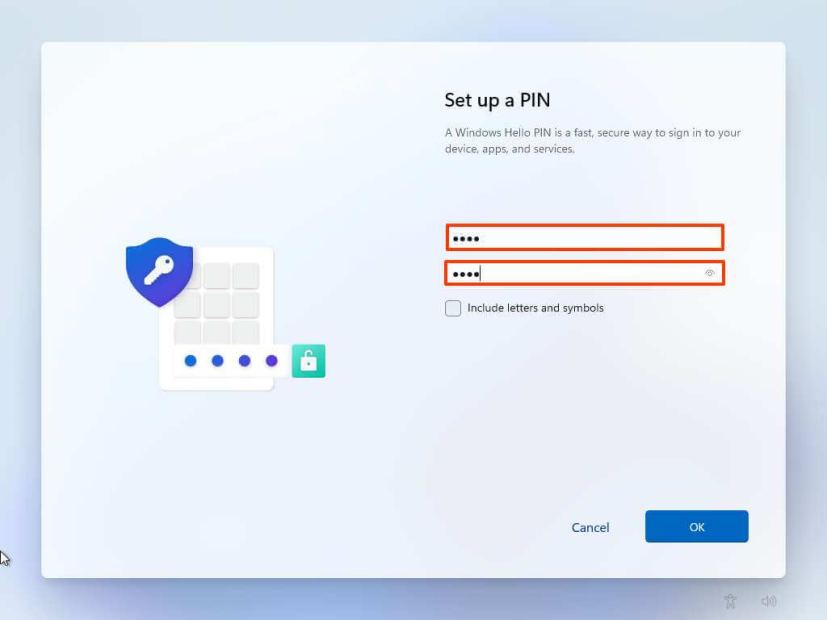
Create a new four-digit PIN.
-
Click the OK button.
-
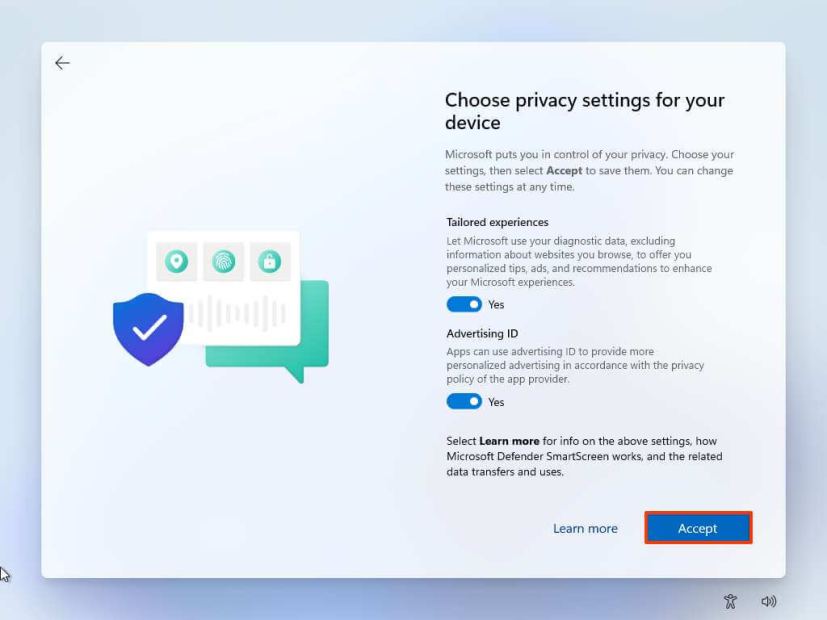
Confirm the privacy settings that best suit your situation by turning on or off the toggle switch for each setting.

-
Click the Next button.
-
Click the Next button again.
-
Click the Accept button.
-
(Optional) On the “Let’s customize your experience” page, select one or more ways you plan to use the device to allow the setup to suggest tools and service customizations during this experience.

-
Click the Accept button to continue. Or click the Skip button to skip this part of the setup.
-
Click the Skip button for the Android phone link process.
-
Click the “Next” button to automatically upload your Desktop, Pictures, and Documents folders to OneDrive. Or Select the “Only save files to this PC” option.

-
Click the Next button.
-
Click the Decline button to skip the Microsoft 365 setup.
-
Click the “Skip for now” button to skip the Game Pass subscription promotion.
After you complete the steps, Windows 11 23H2 will finish the clean installation on the computer.
In the case that the installation is still on version 22H2, you can follow the previous steps to enroll the device in the Beta Channel to upgrade the system to version 23H2.